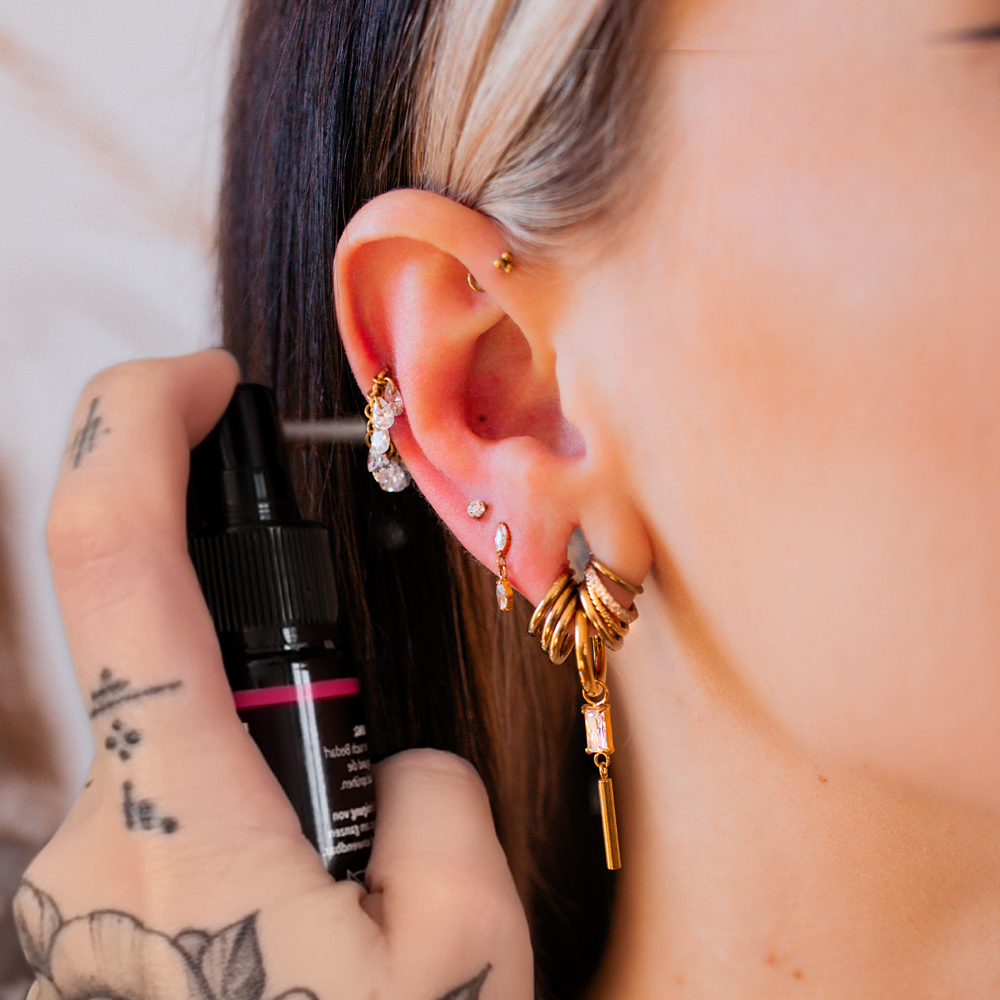
Work on a clean surface and disinfect your hands and your piercing.
Step 2: REMOVE THE TOP
Grip the attachment with the tweezers and carefully pull it out of the labret, then remove the labret from the piercing channel.
Step 3: Cleaning
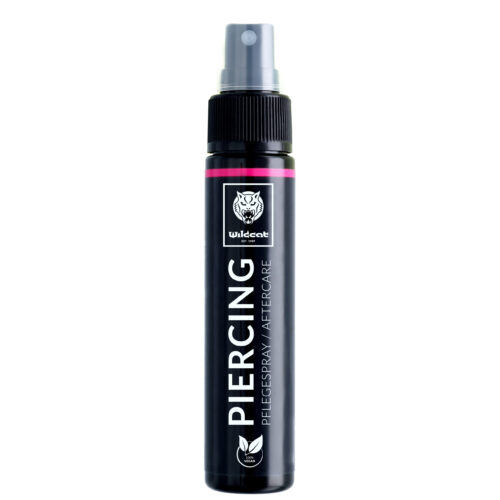
Clean your ear thoroughly to prevent bacteria or residue from entering the piercing channel.
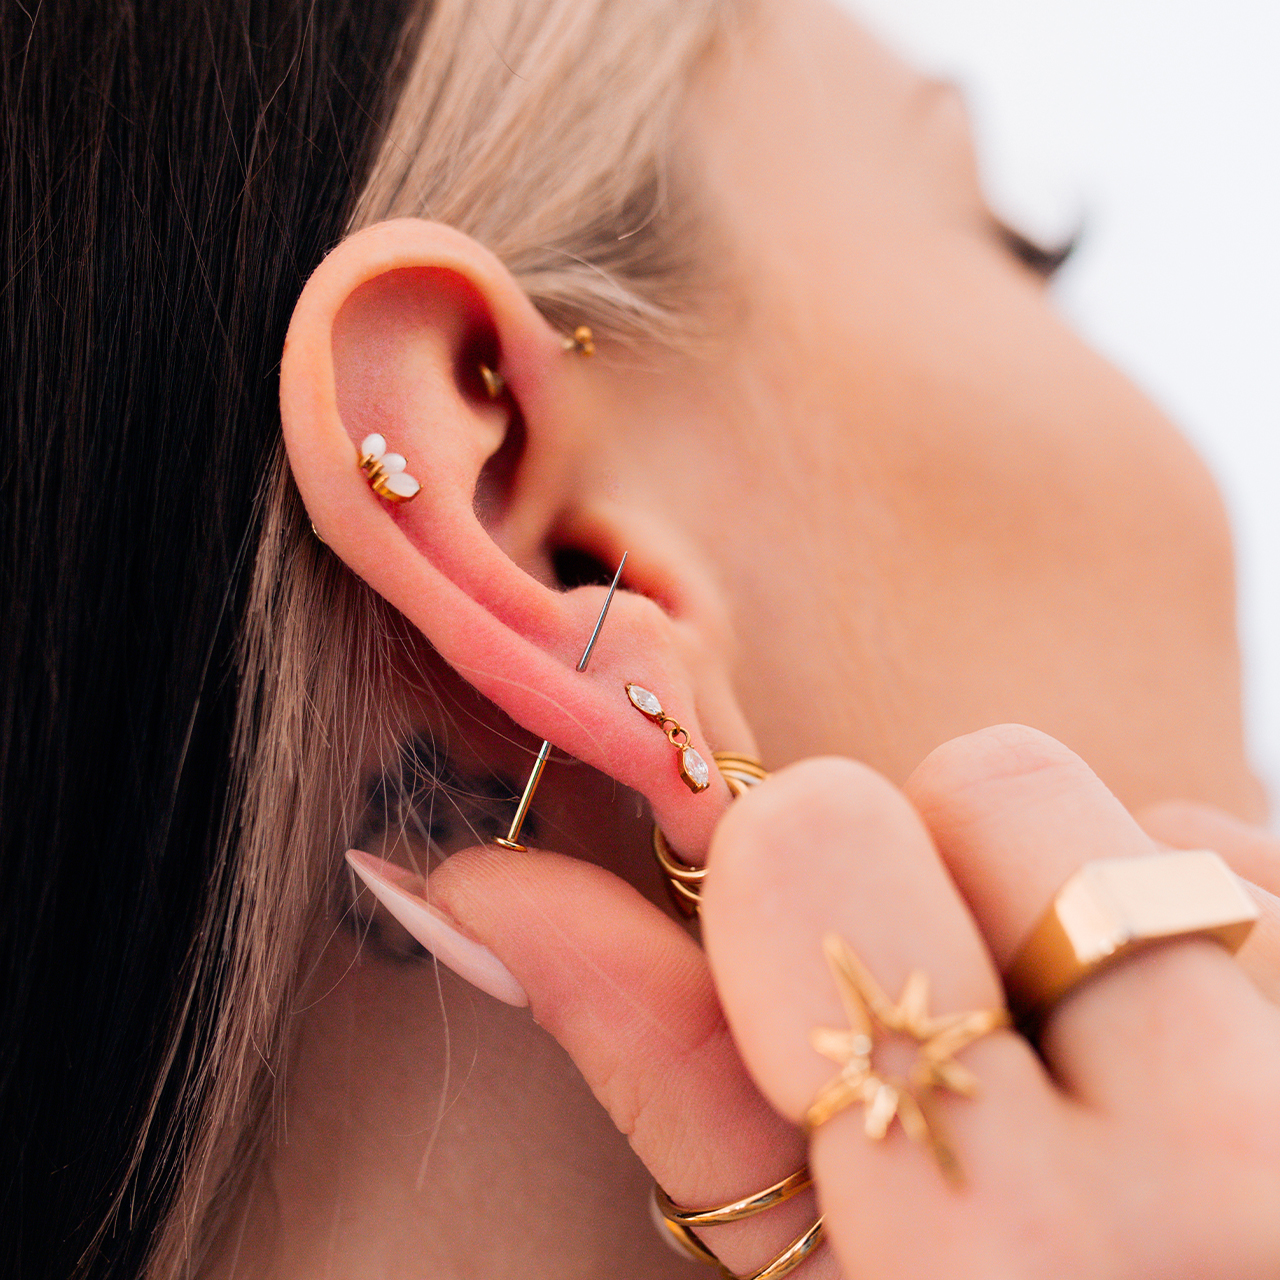
Step 4: Insert the Labret
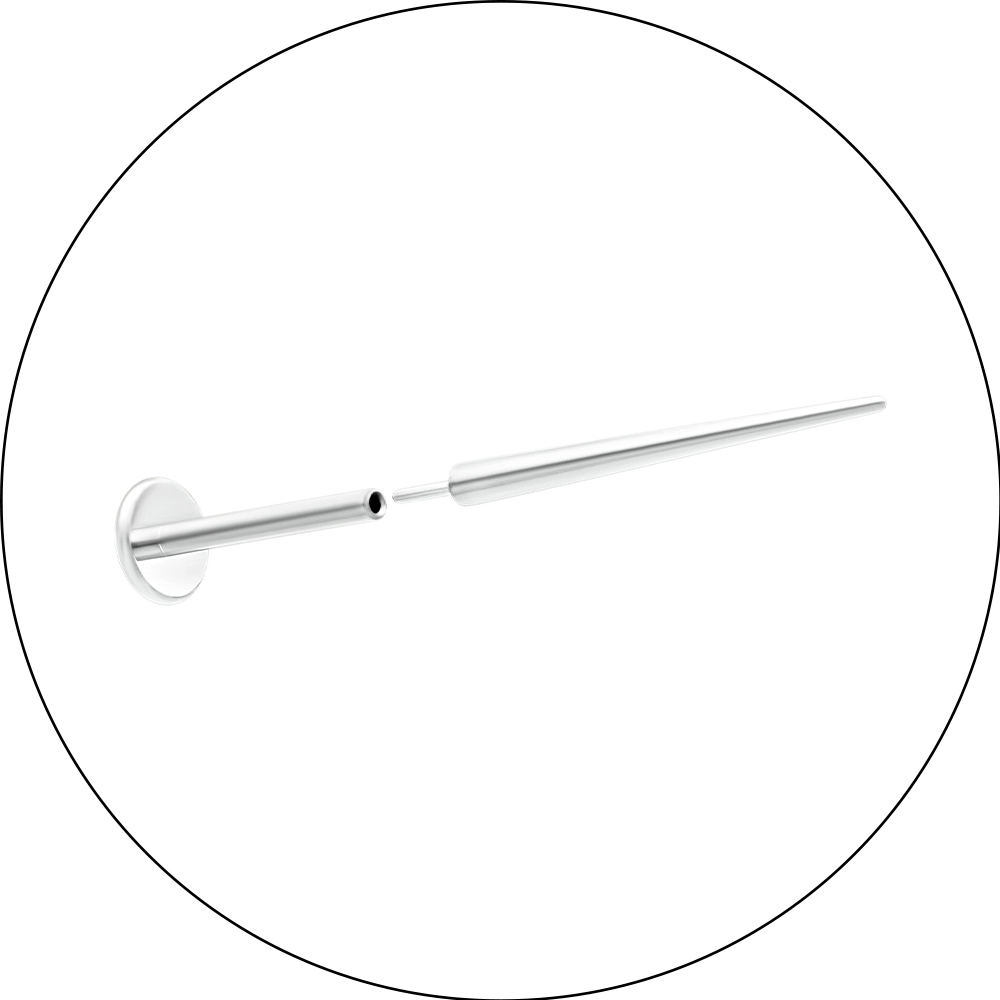
Carefully guide the insertion pin through the piercing channel from the back and slowly pull the labret through. Remove the insertion pin afterwards.
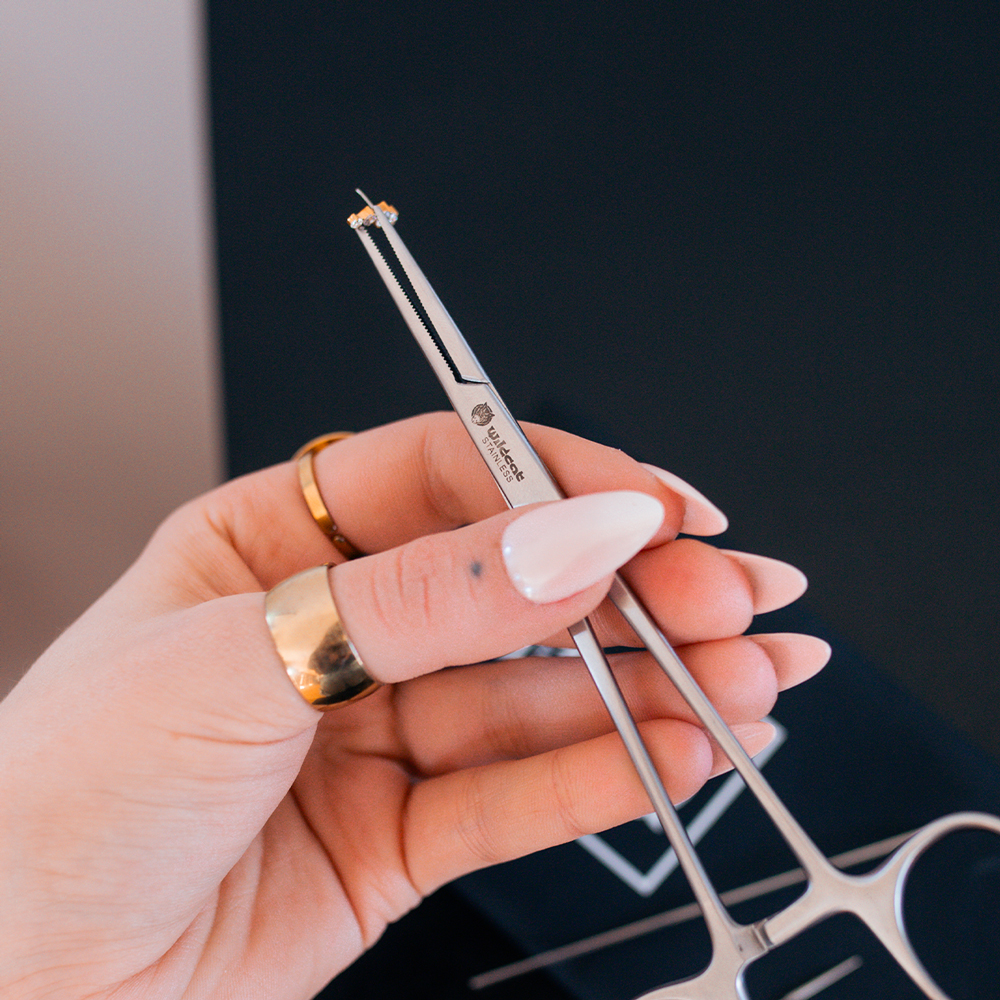
Step 5: INSERT THE TOP
Then insert the attachment. Tip: Use the clamp to grip the attachment more easily and secure it with better control.
Step 6: Finished
Check the fit and enjoy your new piercing!
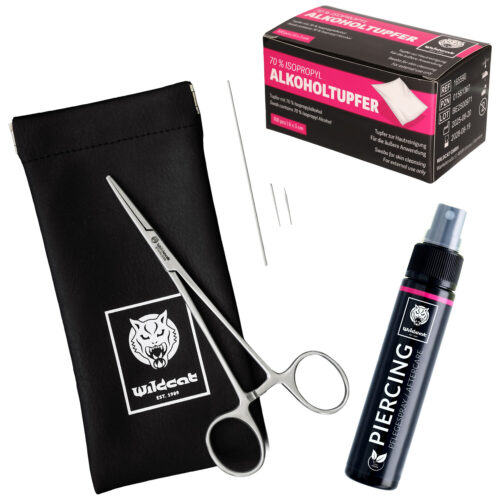
What’s Included in the Piercing Change Kit:
Straight Artery Forceps
Practical piercing clamp for better grip and control when inserting jewellery. Especially useful for holding small attachments and allowing for more precise handling.
Tapered Insertion Pin (externally)
Insertion tool for externally threaded jewellery, designed for easy and gentle piercing changes. Guides the jewellery smoothly through the piercing channel and makes insertion much easier.
Tapered Insertion Pin (internally)
High-quality titanium insertion tool for internally threaded jewellery, designed for especially precise and comfortable piercing insertion. Lightweight, durable, and ideal for professional use.
Push Fit Insertion Pin 1.2 mm
Specially designed for Push Fit jewellery to make inserting labrets easier. Ensures a quick and uncomplicated piercing change.